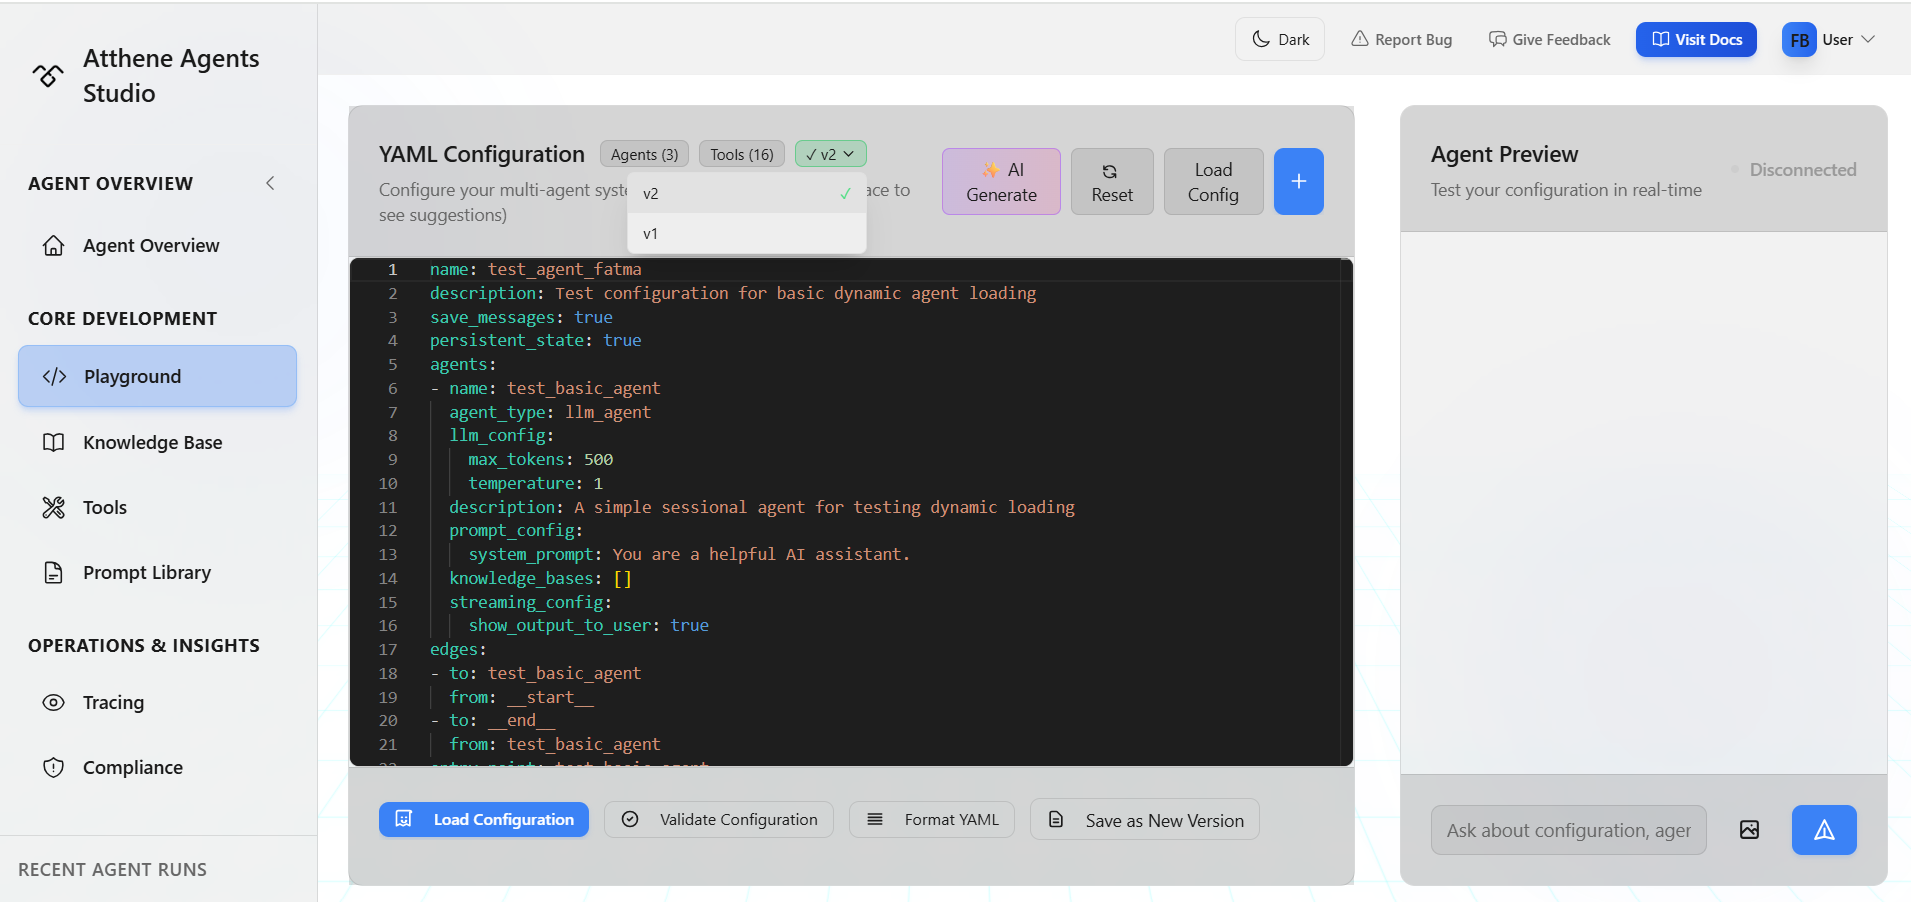
The Playground is where you create and test agents. It’s split into two main areas: the YAML editor on the left and the chat interface on the right.Documentation Index
Fetch the complete documentation index at: https://docs.atthene.com/llms.txt
Use this file to discover all available pages before exploring further.
Interface Overview
Left Side: YAML Editor
This is where you write your agent configuration. You’ll see:- Agents count badge: Shows how many agents are in your config
- Tools count badge: Shows which tools are configured
- Version dropdown: Switch between saved versions (when editing an agent)
- Toolbar buttons: Load Config, Save Agent, Generate Config
Learning YAML syntax? See the YAML Configuration guide for complete syntax reference
Right Side: Agent Preview
Test your agent here:- Connection status: Shows if your config is loaded
- Chat interface: Send messages to test your agent
- Streaming responses: See agent responses in real-time
Building Your First Agent
Start with a Template
Click Load Config in the toolbar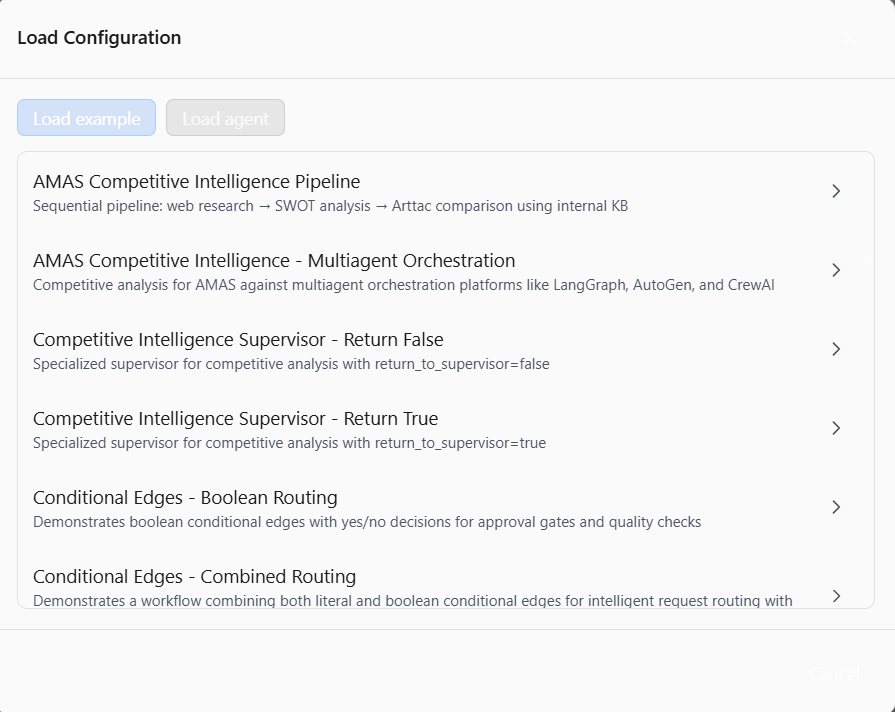
Load the Configuration
After selecting a template, click Load ConfigurationWait for the connection status to show “Connected” in green
Test Your Agent
Type a message in the chat interface on the rightYour agent will respond using the configuration you loaded
Modify the Config
Edit the YAML on the left side. Try changing:
system_prompt: Change how the agent behavestemperature: Adjust creativity (0.0 = focused, 1.0 = creative)max_tokens: Control response length
Want to understand all configuration options? Check:
- Agent Types - Different agent architectures
- Model Selection - LLM configuration
- Prompt Configuration - System prompts and templates
Using the AI Config Generator
Don’t want to write YAML from scratch? Use the AI generator.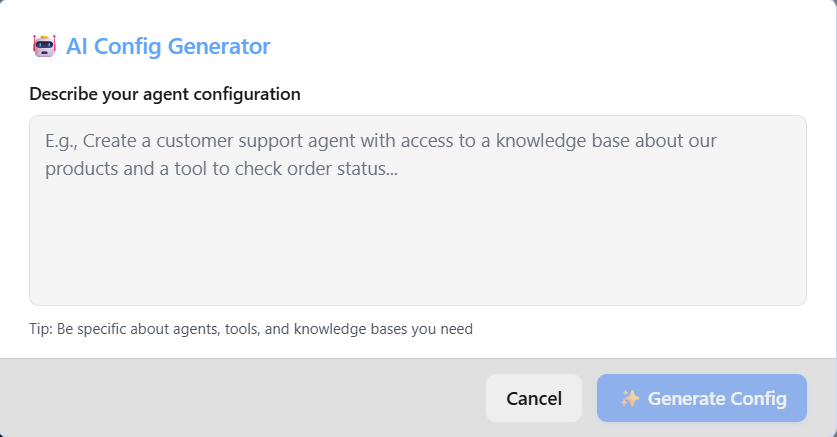
Describe Your Agent
Type what you want your agent to do. For example:Be specific about what data you need and what the agent should do
Generate
Click Generate Config and wait a few seconds
Adding Tools and Prompts
Click the + button in the toolbar to quickly insert configurations: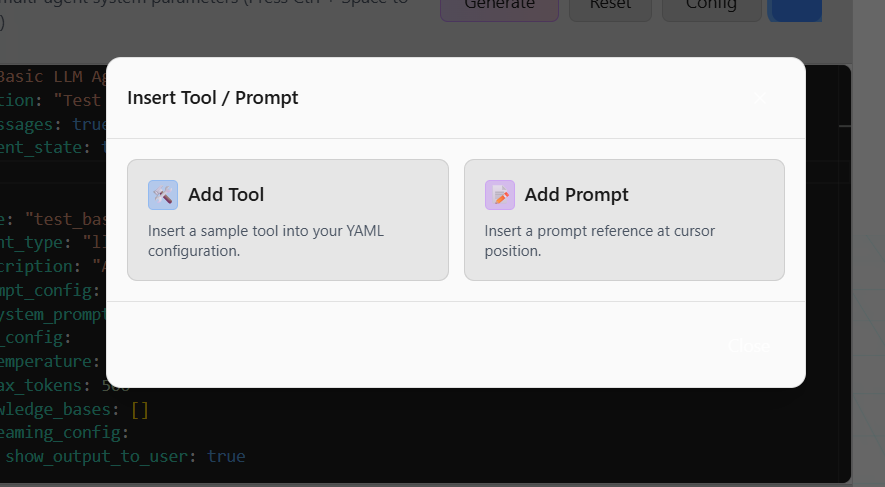
Insert Tool
Adds a sample tool configuration at your cursor position → Tools Configuration - Available tools and setupInsert Prompt
Inserts a prompt reference from your prompt library → Prompt Configuration - Advanced prompt features and variablesTo add knowledge bases to your agent, manually configure them in the YAML. See the Knowledge Base Setup guide for YAML syntax.
Saving Your Agent
Once you’re happy with your agent:Saved agents can be accessed via API, deployed as chatbots, or further refined
Working with Versions
When you save changes to an existing agent, it creates a new version. The version dropdown appears in the Playground toolbar when editing an agent:Version Controls
Green checkmark (✓): Current version (deployed and active) Yellow scroll (📜): Historical version (viewing only)Switching Versions
- Click the version dropdown in the toolbar
- Select a version to view
- To make it active, go to Agent Overview → Settings → Versions → Deploy
Tips for Effective Testing
Common Issues
What’s Next?
YAML Configuration
Complete YAML syntax reference
Agent Types
LLM agents, ReAct agents, and workflows
Knowledge Base Setup
Configure RAG and retrieval settings
Structured Output
Extract structured data from agents